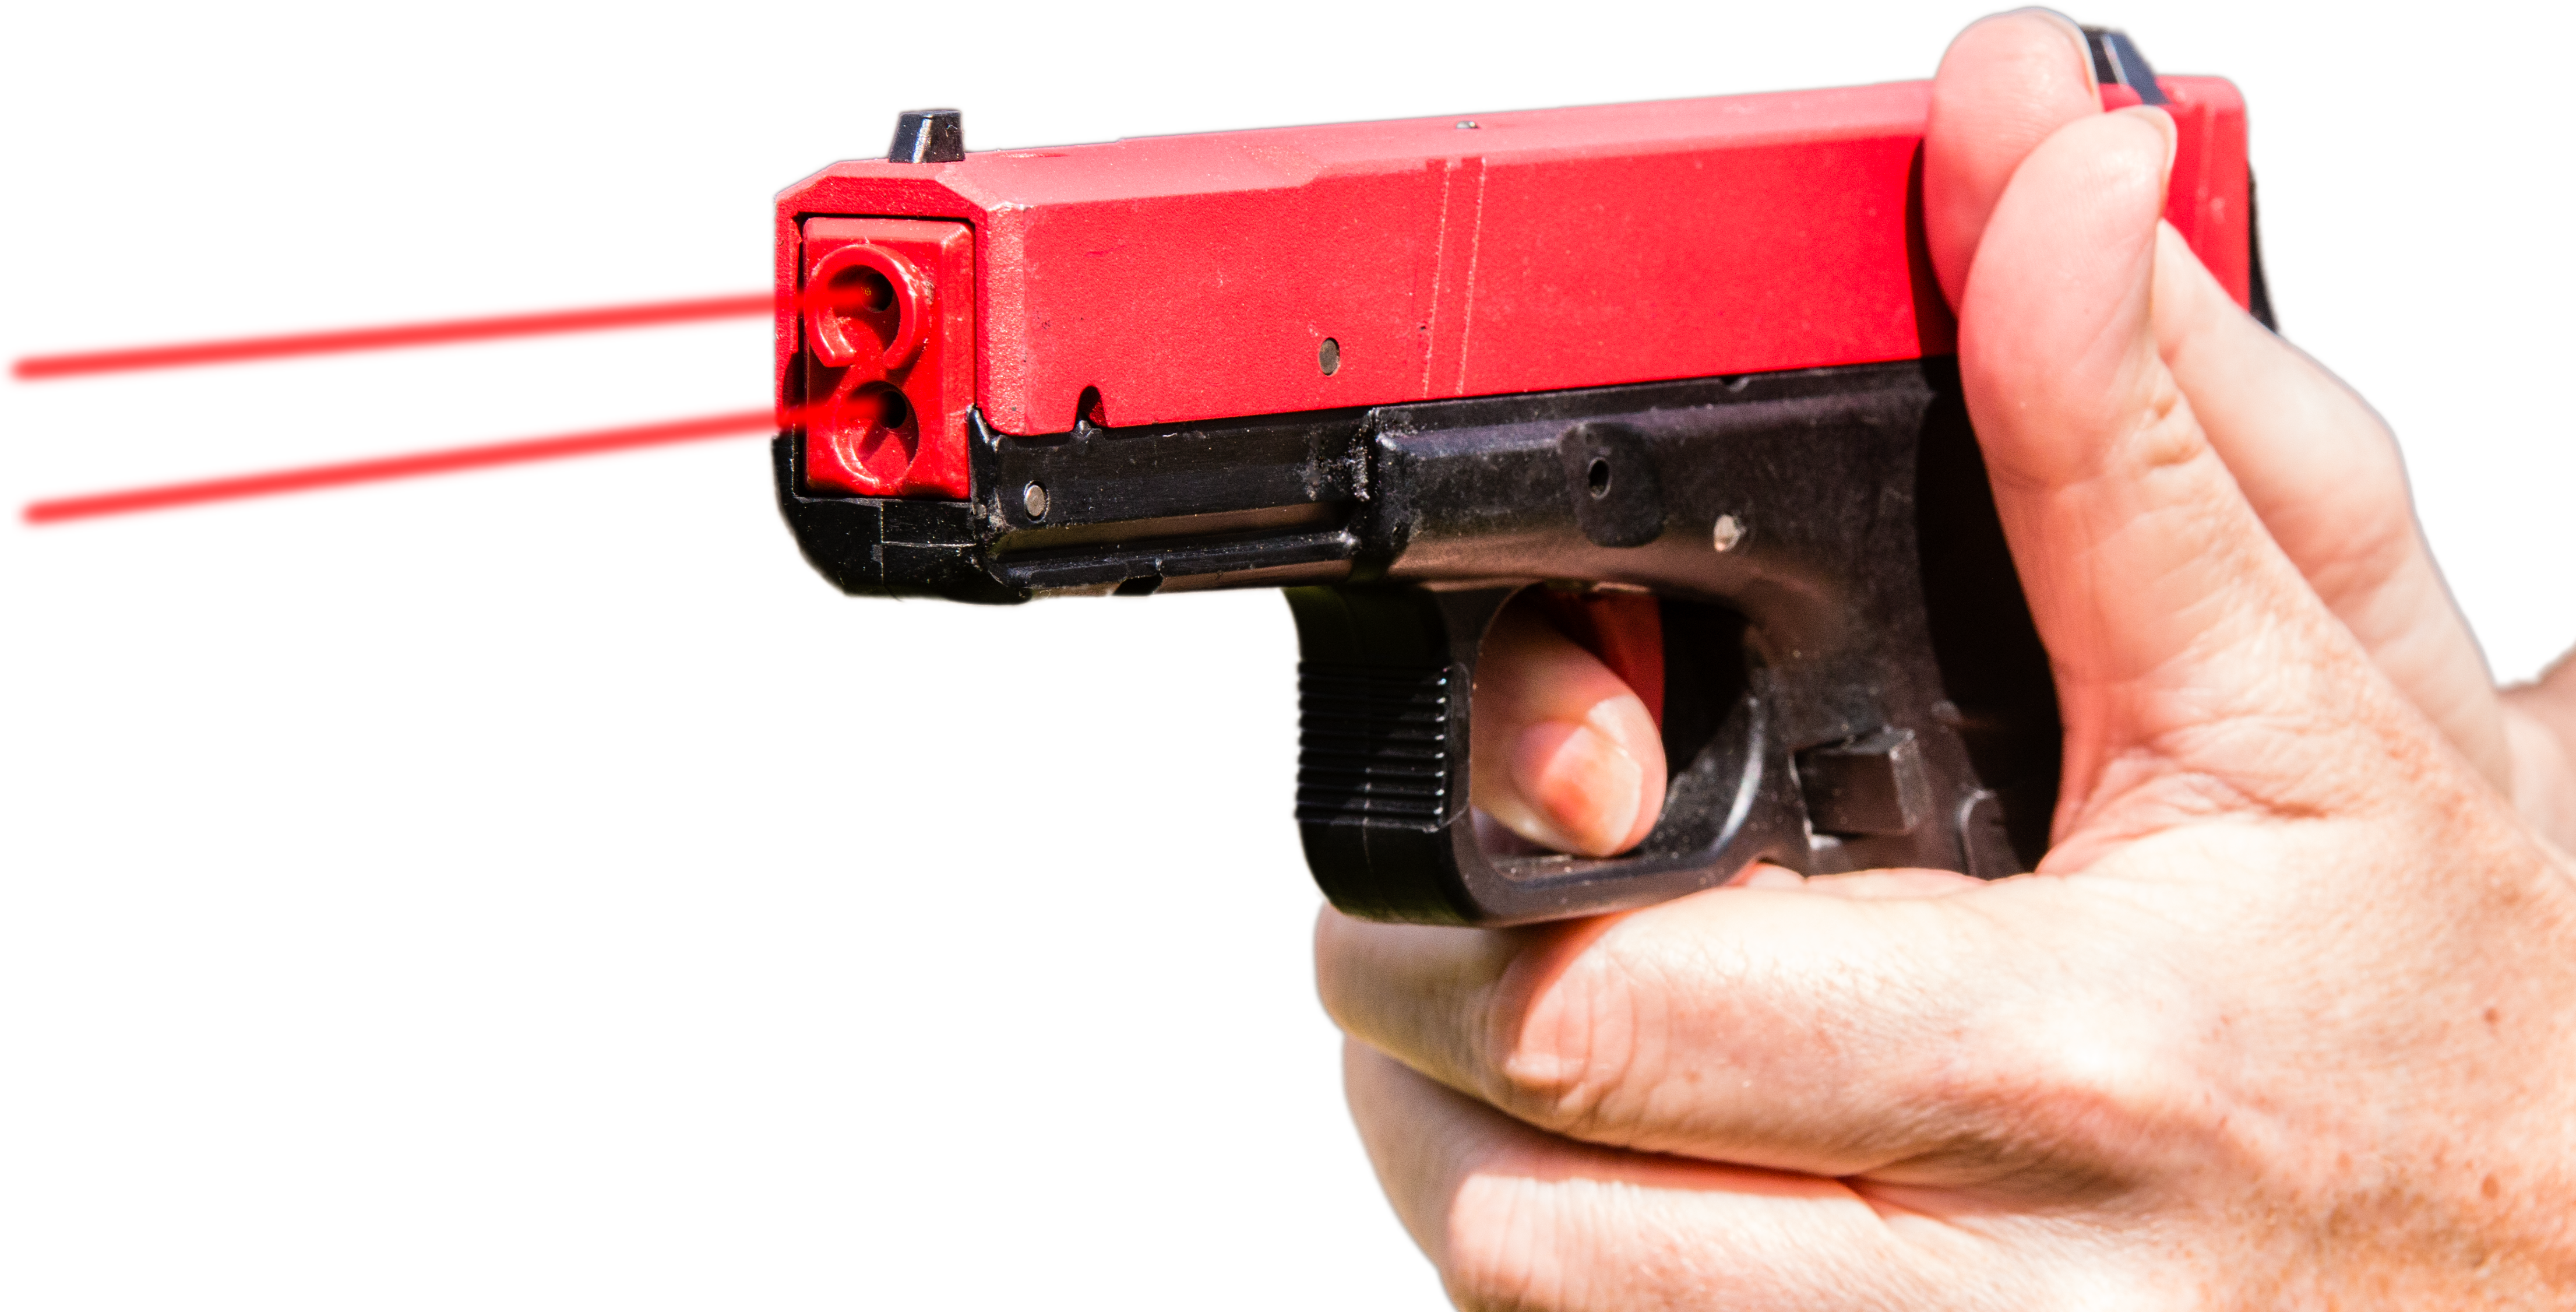
Complete Guide to Pistol Malfunction Clearance: From Tap-Rack to Double Feed
Why Malfunction Clearance is an Essential Skill
You pull the trigger and hear only a “click”—this is something every shooter will eventually experience. No matter how reliable your gun is or how good your ammunition quality, malfunctions will happen at the most unexpected moments.
In competitive shooting, a poorly handled malfunction can cost you precious seconds or even the entire match. In defensive scenarios, those few seconds of vulnerability could mean the difference between life and death. This is why malfunction clearance is a core skill every serious shooter must master.
The good news: There are only a limited number of malfunction types, and each has standard clearance procedures. Once you build the correct muscle memory, you can react automatically under pressure without thinking “What type of malfunction is this? How do I fix it?”
This guide covers the three main malfunction types, standard clearance procedures, and how to train systematically using a Shot Timer.
💡 Further Reading: Malfunction clearance training requires a timer. Check out our Shot Timer App Complete Guide to learn how to train with your smartphone.
Malfunction Types Overview
In shooting training, malfunctions are typically classified into three types:
| Type | Name | Symptoms | Difficulty | Clearance Time Target |
|---|---|---|---|---|
| Type 1 | Failure to Fire | Click but no bang | Easy | Under 1 second |
| Type 2 | Failure to Eject (Stovepipe) | Case stuck in ejection port | Medium | Under 1.5 seconds |
| Type 3 | Double Feed | Round in chamber + another trying to feed | Hard | 3-5 seconds |
These three types cover 99% of handgun malfunctions. Once you master the corresponding clearance procedures, you can handle virtually any malfunction with confidence.
Type 1 Malfunction: Failure to Fire
Symptom Identification
Type 1 is the most common and easiest malfunction to clear. When you pull the trigger:
- You hear only a “click” (the firing pin striking sound)
- No gunshot
- Slide is in battery (closed position)
Possible Causes
- Primer Failure: The primer failed to ignite
- Magazine Not Fully Seated: Magazine not locked in place, causing feed failure
- Out of Battery: Slide not fully forward, preventing striker from firing
- Spring Fatigue: Worn striker spring or recoil spring
Clearance Procedure: Tap-Rack-Bang
Tap-Rack-Bang is the standard procedure for clearing Type 1 malfunctions and the most important malfunction clearance technique.
Step Breakdown
1. TAP
- Use your support hand palm heel to firmly strike the magazine baseplate
- Ensure the magazine is fully seated and locked
- The motion should be decisive and forceful, not a gentle tap
2. RACK
- Fully rack the slide to the rear, then release
- Let the slide return forward naturally (don’t “ride” it forward)
- Tilt the gun slightly toward the ejection port to help the faulty round fall out
3. BANG / ASSESS
- Traditionally “Bang”—continue firing
- Modern training emphasizes “Assess”—reassess the situation before deciding to fire
- In competition, you typically continue shooting
Key Points
- The entire action should complete within 1 second
- No need to look down to identify the malfunction type first—just execute Tap-Rack
- Keep the muzzle pointed at the target, eyes on the threat
- Be decisive, don’t hesitate
💡 Training Tip: Tap-Rack is your universal first response. For any malfunction, start with Tap-Rack. If it doesn’t solve the problem, then assess whether it’s a more serious malfunction.
Type 2 Malfunction: Failure to Eject (Stovepipe)
Symptom Identification
Type 2 malfunction is commonly called a “Stovepipe” because the stuck case looks like a chimney standing up in the ejection port:
- Case is extracted from the chamber but not ejected
- Case is stuck in the ejection port, preventing slide from closing
- Slide cannot fully return to battery
Possible Causes
- Limp Wristing: Insufficient grip strength, not providing enough resistance for the slide
- Underpowered Ammunition: Insufficient power to fully cycle the slide
- Worn Extractor: Extraction mechanism degradation
- Recoil Spring Too Strong: Aftermarket heavy spring
Clearance Procedure: Same Tap-Rack
Good news: Type 2 malfunctions are also cleared with Tap-Rack.
When you execute the Rack motion, the fully retracted slide will carry the stuck case out and let it fall. Simultaneously, a new round will be chambered.
Notes
- When racking, pull the slide all the way back
- Tilt the gun slightly toward the ejection port to help gravity assist the case in falling out
- If the case still doesn’t fall, you may need to swipe it away with your support hand
Type 3 Malfunction: Double Feed
Symptom Identification
Type 3 is the most serious and time-consuming malfunction type:
- A round is already in the chamber (or a stuck case)
- The magazine is trying to push another round in
- Two rounds/cases are jammed together
- Slide can’t go forward and is difficult to pull back
- Tap-Rack will NOT solve this
Possible Causes
- Extractor Failure: Unable to grab and extract the previous case
- Magazine Issues: Magazine spring too strong or feed lips deformed
- Dirty Chamber: Residue preventing case from extracting normally
Clearance Procedure: Lock-Strip-Rack-Rack-Rack-Insert-Rack
Due to the complexity of Type 3 malfunctions, more steps are required. Remember this sequence: “Lock-Strip-Work-Work-Work-Reload-Rack”
Step Breakdown
1. LOCK
- Lock the slide to the rear position
- Hold the slide stop lever while pulling the slide back
2. STRIP
- Forcefully strip out the magazine
- The magazine may be stuck tight due to the jam, requiring force
- Don’t waste time trying to retain the magazine—let it drop
3. RACK-RACK-RACK (Work the Slide)
- Rack the slide 3 or more times consecutively
- Clear the ammunition/case from the chamber
- Ensure the chamber is completely empty
4. INSERT
- Insert a fresh magazine
- Ensure it’s fully seated
5. RACK
- Final rack of the slide, release, completing the chambering
- Ready to continue shooting
Time Standards
- Beginner: 5-7 seconds
- Intermediate: 3-5 seconds
- Advanced: Under 3 seconds
⚠️ Important Reminder: Type 3 malfunctions are complex and require extensive practice to master. Under pressure, many shooters fumble. The only solution is repeated practice to build muscle memory.
Malfunction Handling in Competition
IPSC/USPSA Rule Considerations
In IPSC and USPSA competitions, malfunction handling has some special rules to note:
- No Tools Allowed: Cannot use cleaning rods or any tools to clear malfunctions—violation results in zero for the stage
- Squib Handling: USPSA rules explicitly prohibit shooters from attempting to clear a squib—violation results in disqualification (DQ)
- Strong Hand/Weak Hand Stages: During strong hand or weak hand only stages, you may temporarily use both hands to clear malfunctions without penalty
IDPA Rule Considerations
IDPA competitions emphasize tactical scenarios, with slightly different malfunction handling rules:
- Malfunction clearance time counts toward your score, making fast clearance crucial
- Some scenarios may require using cover while clearing malfunctions
- Maintain awareness of the threat area
💡 Competition Tip: Always check your equipment before matches. Use tested magazines and ammunition to significantly reduce malfunction probability.
Malfunction Clearance for Airsoft
Airsoft players using GBB (Gas Blowback) and AEG (Automatic Electric Gun) also encounter “jamming” issues, but the causes and solutions differ from real firearms.
Common GBB Gas Pistol Issues
| Issue | Symptoms | Solution |
|---|---|---|
| Low Gas | Weak slide cycle, incomplete blowback | Change gas canister, use in warmer environment |
| BB Jam | Won’t fire | Use unjamming rod to clear from barrel rear |
| Feeding Issues | Skipping or failure to chamber | Check magazine spring, use quality BBs |
| Poor Seal | Gas leaking, reduced power | Replace O-ring seals |
Common AEG Electric Gun Issues
| Issue | Symptoms | Solution |
|---|---|---|
| BB Stuck in Hop-up | Muffled sound, won’t fire | Use cleaning rod, adjust hop-up |
| Magazine Not Seated | Feeding problems | Confirm proper magazine installation |
| Low Battery | Reduced rate of fire, weak | Charge or replace battery |
| Gearbox Problems | Abnormal sounds, stops working | Requires disassembly and repair |
Important Reminders
- Never keep pulling the trigger when jammed—this can damage the gearbox or gas mechanism
- Use quality BBs (0.20g or heavier, smooth and round)
- Regularly clean the barrel and hop-up unit
Training Malfunction Clearance with Shot Timer
Malfunction clearance must be practiced until it becomes instinctive. Using a Shot Timer quantifies your progress and adds training pressure.
Training Method 1: Random Dummy Rounds
Setup:
- Prepare several snap caps (dummy rounds)
- Have a training partner load your magazine, randomly inserting snap caps
- You don’t know which positions have snap caps
Training Flow:
- Set a PAR time on your Shot Timer (e.g., 1.5 seconds for Tap-Rack)
- Shoot normally
- When you encounter a snap cap, execute Tap-Rack
- Shot Timer records your reaction time
Training Method 2: Simulating Type 3 Malfunctions
Setup (using snap caps):
- Rack the slide back, lock it with the slide stop
- Manually place a snap cap into the chamber
- Insert a magazine loaded with snap caps
- Release the slide—this creates a “double feed”
Training Flow:
- Set a PAR time (e.g., 4 seconds)
- Execute the complete Type 3 clearance procedure
- Record time, strive for improvement
Time Standard Reference
| Malfunction Type | Beginner | Intermediate | Advanced | Competition Level |
|---|---|---|---|---|
| Type 1 (Tap-Rack) | 2.0 sec | 1.5 sec | 1.0 sec | 0.8 sec |
| Type 2 (Stovepipe) | 2.5 sec | 2.0 sec | 1.5 sec | 1.0 sec |
| Type 3 (Double Feed) | 6.0 sec | 4.0 sec | 3.0 sec | 2.5 sec |
Dry Fire Training Methods
Malfunction clearance is perfect for dry fire training. In fact, since malfunctions don’t occur frequently during actual shooting, deliberate dry fire practice is the primary way to build muscle memory.
Required Equipment
- Snap Caps—to protect the firing pin
- Empty live magazines or training magazines
- Shot Timer App
Type 1 Dry Fire Practice
- Load only snap caps in the magazine
- Chamber normally
- Aim, pull trigger (hear the “click”)
- Execute Tap-Rack
- Repeat
Type 3 Dry Fire Practice
- Manually create a double feed (as described above)
- Execute the complete clearance procedure
- Time and record
- Goal: Practice 10 times daily
💡 Further Reading: For more dry fire training techniques, see our Complete Dry Fire Training Guide.
Prevention is Better Than Cure: Reducing Malfunction Probability
While malfunction clearance skills are important, the best strategy is preventing malfunctions from occurring.
Equipment Maintenance
- Regular Gun Cleaning: Especially the chamber, feed ramp, and ejection port
- Replace Worn Parts: Extractor and recoil spring are common wear items
- Test Magazines: Use proven reliable magazines
Ammunition Selection
- Use Quality Ammunition: Avoid reloads from unknown sources
- Inspect Ammunition: Don’t use deformed or corroded rounds
- Match Caliber: Ensure correct ammunition specifications
Shooting Technique
- Firm Grip: Avoid limp wristing that causes ejection failures
- Proper Stance: Provide a stable resistance platform for the gun
- Regular Practice: Become familiar with your gun’s characteristics
Frequently Asked Questions
Q1: Should I first identify what type of malfunction it is?
No. For any malfunction, your first response should be to execute Tap-Rack. If Tap-Rack doesn’t solve the problem, then determine if it’s a Type 3 malfunction and execute the corresponding procedure. This “unified first response” approach is most reliable under pressure.
Q2: During Tap-Rack, should I look at the gun or the target?
Keep your eyes on the target/threat direction. The Tap-Rack motion should be performed entirely by feel and muscle memory, requiring no visual confirmation. In tactical situations, looking down at your gun may cause you to lose awareness of the threat.
Q3: Can I use a cleaning rod to clear malfunctions during a match?
No. IPSC and USPSA rules explicitly prohibit using any tools to clear malfunctions. Violations result in zero for the stage. If a malfunction cannot be manually cleared, report it to the RO.
Q4: How do I identify a squib load?
Squib symptoms: Abnormally quiet gunshot, unusually light recoil. If you suspect a squib, immediately stop shooting, as the next round could cause a catastrophic failure. In USPSA competition, attempting to clear a squib yourself results in DQ.
Q5: Will snap caps damage my gun?
Quality snap caps will not damage your gun. They are specifically designed for dry fire training, with cushioning areas to protect the firing pin. Using snap caps is actually gentler on your gun than dry firing on an empty chamber.
Q6: Why rack the slide three times for Type 3 clearance?
One rack may not be enough to clear the jammed ammunition/case. Multiple racks ensure the chamber is completely empty. This is a conservative but reliable approach.
Q7: Should airsoft players also practice malfunction clearance?
Recommended. Although GBB and AEG malfunctions differ from real firearms, building the “malfunction → immediate response” mental model benefits any shooting activity. Plus, it helps you handle unexpected situations on the field more confidently.
Q8: How often should I practice malfunction clearance?
At least once per week recommended. Malfunction clearance is a “low frequency, high importance” skill—rarely needed, but critical when it is. Spending 10-15 minutes weekly on dry fire malfunction clearance practice will maintain your proficiency.
Conclusion
Malfunction clearance is often overlooked but extremely important in shooting training. Through this guide, you should now understand:
- Three main malfunction types and their symptoms
- Standard clearance procedures: Tap-Rack-Bang and Type 3 clearance
- Special considerations for competitive shooting and airsoft
- How to use a Shot Timer for systematic training
Remember: For any malfunction, your first response should always be Tap-Rack. This simple action solves most problems. If it doesn’t work, proceed to the more complex Type 3 clearance.
Most importantly: Practice, practice, practice. Malfunction clearance must become muscle memory to be executed automatically under pressure.
Related Resources
- Shot Timer App Complete Guide
- Complete Dry Fire Training Guide
- Complete Guide to Fast Magazine Reloads
- Complete Guide to Classic Shooting Drills
- IPSC Practical Shooting Complete Training Guide
- IDPA Defensive Shooting Complete Training Guide