Complete Shooting Safety Rules Guide: Safety Standards from Range to Competition
Why Is Safety the Foundation of Everything?
Whether you’re a competitive shooter, recreational enthusiast, or airsoft player, safety is always the most important aspect of any shooting activity. The thrill and challenge of shooting sports are built entirely on the premise of strict adherence to safety rules.
Every experienced shooter will tell you: safety awareness isn’t a one-time lesson—it must be integrated into every training session, every match, and every movement as second nature. Even if you’ve been shooting for decades, safety rules must be executed as naturally as breathing.
This guide systematically covers all aspects of shooting safety—from the fundamental four rules to range etiquette, competition safety regulations, and airsoft safety requirements—helping you build a comprehensive safety knowledge foundation.
What This Guide Covers
- In-depth analysis of the four fundamental firearm safety rules
- Range commands and etiquette standards
- IPSC/USPSA and IDPA safety rules
- Airsoft-specific safety regulations
- Home firearm storage safety guide
- Building safety awareness during training
💡 Key Concept: For a shooting accident to occur, typically two or more safety rules must be violated simultaneously. Strict compliance with all rules minimizes risk to the absolute minimum.
The Four Fundamental Safety Rules
These four rules are the cornerstone of all shooting safety, compiled and popularized by Colonel Jeff Cooper, and universally adopted by the global shooting community. These rules must be followed 100% of the time, regardless of circumstances.
Rule 1: Treat Every Firearm as if It Is Loaded
Always assume that a firearm is loaded, no matter how certain you are that it’s empty.
Why Is This Rule So Important?
Many shooting accidents stem from the phrase “I thought the gun wasn’t loaded.” When you develop the habit of treating every firearm as loaded, you naturally become more careful with every action—from picking up a gun, to passing it to someone, to setting it down.
Practical Guidelines
- Immediately check the chamber every time you pick up a firearm
- Remove the magazine, rack the slide, and visually confirm the chamber is empty
- Even if you just checked it, check again when you pick it back up
- When receiving a firearm from someone else, your first action is to verify its loaded status
- At gun stores, after the clerk hands you a firearm, check it yourself
Common Mistakes
| Wrong Behavior | Correct Approach |
|---|---|
| “I just removed the magazine, it must be empty” | Still rack the slide and check the chamber after removing the magazine |
| “This gun has never been loaded” | Regardless of history, check every time you handle it |
| “I’m just going to look at it and put it back” | Any time you touch a firearm, verify its status |
Rule 2: Never Point the Muzzle at Anything You Are Not Willing to Destroy
Muzzle discipline is the most intuitive and critical safety habit. If the muzzle always points in a safe direction, no injury can occur even in the event of an accidental discharge.
What Is a “Safe Direction”?
A safe direction means that even if a bullet were fired, it would not strike any person or cause unnecessary damage. Consider:
- Bullets can penetrate walls and ceilings
- Ricochets can occur
- Whether anyone might walk into the line of fire
Safe Directions by Scenario
| Scenario | Safe Direction |
|---|---|
| Shooting range | Toward the target area (downrange) |
| Outdoors | Toward the ground or a safe earthen berm |
| Indoors | Toward the ground (check if anyone is on the floor below) |
| During cleaning | Toward a designated clearing barrel or thick wall |
Practical Guidelines
- Keep the muzzle pointed at the ground or ceiling while walking (per venue rules)
- Pay special attention to muzzle direction when turning—avoid “sweeping” others
- Maintain safe muzzle direction when removing or placing firearms in cases
- During competition, always be aware of your muzzle’s relationship to the 180-degree line
⚠️ Special Reminder: Even with an unloaded firearm, never point the muzzle at anyone. This isn’t just a safety issue—it’s a matter of basic respect for others.
Rule 3: Keep Your Finger Off the Trigger Until Ready to Shoot
Trigger discipline is one of the most effective methods for preventing accidental discharges. Your index finger should rest outside the trigger guard, only entering the trigger guard when you’re aimed at the target and ready to fire.
Correct Finger Position
- Ready position: Index finger extended straight, flat against the side of the frame or above the trigger guard
- Firing position: Only move your finger to the trigger when your sights are on target and you’re ready to fire
Critical Moments to Watch
- During the draw: Many beginners place their finger on the trigger during the draw stroke—extremely dangerous
- While moving: During competition movement, your finger must be off the trigger
- Loading/unloading: When inserting magazines or racking the slide, keep your finger away from the trigger
- Clearing malfunctions: When handling jams or other malfunctions, maintain finger position outside the guard
- Handing off firearms: When passing a gun to someone, your finger must be far from the trigger
Training Methods
- During dry fire practice, deliberately practice transitioning your finger on and off the trigger
- Practice draws in front of a mirror, watching your finger position
- When training with a Shot Timer, confirm proper trigger discipline during every transition
Rule 4: Know Your Target and What Is Beyond It
Before pulling the trigger, you must be 100% certain of two things: what your target is, and what lies beyond it.
Why Watch What’s Beyond the Target?
- Bullets may penetrate the target and continue traveling
- You might miss, striking objects or people behind the target
- At certain angles, ricochets can travel in unexpected directions
Practical Guidelines
- Verify that backstop facilities behind the target area are intact before shooting
- When shooting outdoors, confirm no people or structures are in the distance
- In competition, pay attention to safe angle markers
- When hunting, never shoot at sounds in bushes
Competition Application
IPSC/USPSA matches feature clearly marked safe angle boundaries. Shooters must:
- Never shoot toward areas outside the target array
- Be aware of whether anyone is behind hard cover
- Pay special attention to shooting angles during movement
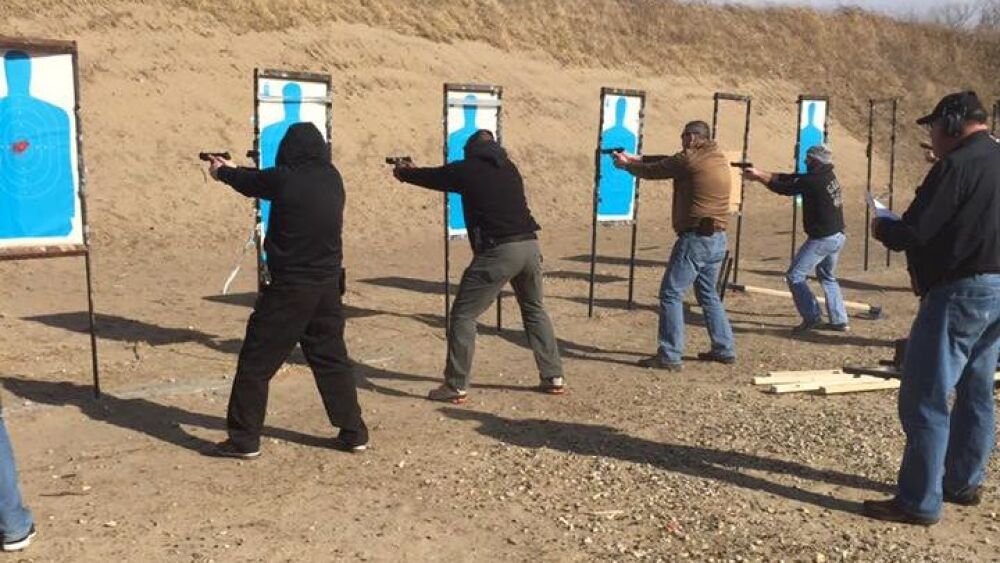
Range Safety Standards and Etiquette
Understanding how a range operates and basic etiquette isn’t just about safety—it’s also about respecting fellow shooters.
Range Command System
Ranges use a standardized command system to manage shooting activities. Every shooter must understand and obey these commands, whether issued by the Range Safety Officer (RSO) or other shooters.
Core Commands
| Command | Meaning |
|---|---|
| Cease Fire | Immediately stop all shooting activity |
| Range is Cold | Do not touch any firearms |
| Range is Hot | Shooting may begin |
| Down Range | Someone is entering the target area |
| Load and Make Ready | Prepare to shoot |
| Commence Firing | You may begin firing |
| Unload and Show Clear | Remove ammunition and display empty chamber |
Correct Response to “Cease Fire”
- Stop shooting immediately—don’t pull the trigger again
- Keep the muzzle pointed downrange—don’t turn around to find who called it
- Remove finger from trigger—place it outside the trigger guard
- Wait for further instructions—don’t unload unless the RSO instructs you to
💡 Important: Anyone can call “Cease Fire.” If you see an unsafe condition, you have the responsibility and the right to call an immediate stop.
Range Etiquette
Beyond safety rules, good range etiquette ensures everyone can enjoy their shooting experience:
- Follow RSO instructions: The safety officer’s directions take priority over everything
- Don’t disturb other shooters: Avoid talking to others while they’re firing or standing too close
- Clean up your shooting area: Collect brass, remove target papers, take your trash
- Ask before touching someone else’s firearm
- Don’t take photos or videos unless you have permission
- Beginners should speak up: If it’s your first time, let the RSO know—they’ll provide extra assistance
Transporting Firearms to and from the Range
- Firearms must be carried in a gun case or bag
- Do not load ammunition before entering the range
- Keep the slide or bolt in the open position
- Only remove firearms after reaching your shooting station
- Confirm clear before packing up to leave
IPSC/USPSA Competition Safety Rules
Competitive shooting maintains extremely strict safety requirements. IPSC (International Practical Shooting Confederation) and USPSA (United States Practical Shooting Association) have detailed safety regulations—violations result in immediate match disqualification (DQ).
The 180 Degree Rule
The 180 degree rule is one of the most important safety rules in IPSC/USPSA.
What Is the 180 Degree Rule?
Imagine a line perpendicular to the shooting direction directly in front of you—your muzzle must not cross this line to point rearward. In other words, muzzle movement is restricted to the 180-degree arc facing the target area.
Key Concepts
- This 180-degree line moves with you—as you move laterally through a stage, the line remains centered on your position
- The Range Officer (RO) closely watches from beside you
- If the muzzle approaches the 180-degree line, the RO will shout “Muzzle!” as a warning
- If the muzzle crosses the 180-degree line, the RO will shout “Stop!” and you’ll be immediately DQ’d
Common Scenarios That Lead to 180 Violations
- Reloading while moving laterally: Fumbling can cause the muzzle to swing
- Transitioning from strong hand to weak hand: The muzzle may sweep rearward during the transition
- Rapid turning: Body rotation speed exceeds muzzle control capability
- Drawing before fully facing downrange
Training Tips to Avoid DQ
- Mark a 180-degree line with tape on the ground during practice
- Deliberately slow down all movements that involve turning
- During walk-throughs, pay special attention to positions where 180 violations are likely
- Better to sacrifice a little speed than risk a DQ
Other DQ-Level Safety Violations
| Violation | Description |
|---|---|
| Accidental Discharge (AD/ND) | Firearm discharges when not intended to fire |
| Dropping a loaded firearm | A loaded gun falls from hand or holster |
| Unauthorized firearm handling | Drawing or touching firearms outside designated areas |
| Loading in the safety area | Safety areas are for clearing only—no ammunition |
| Pointing at officials | Muzzle directed toward RO or staff |
| Unsafe gun handling | Any behavior deemed dangerous by the RO |
IPSC/USPSA Safety Area Rules
The safety area is a designated zone at match venues specifically for handling firearms:
- ✅ You may draw and inspect your firearm
- ✅ You may practice draw strokes (dry fire)
- ✅ You may adjust holsters and equipment
- ❌ Absolutely no loading of any ammunition (including blanks and dummy rounds)
- ❌ No drawing firearms outside the safety area
IDPA-Specific Safety Rules
IDPA (International Defensive Pistol Association) has additional requirements beyond the above:
- All firearms must use concealment holsters (AIWB allowed since 2025)
- Firearms must be fully covered by a concealment garment
- When reloading, retain magazines that still contain rounds (Tactical Reload)
- Specific scenarios require proper use of cover
📖 Further Reading: Learn more about IPSC match procedures at IPSC Match Procedure and Preparation Guide
Airsoft Safety Regulations
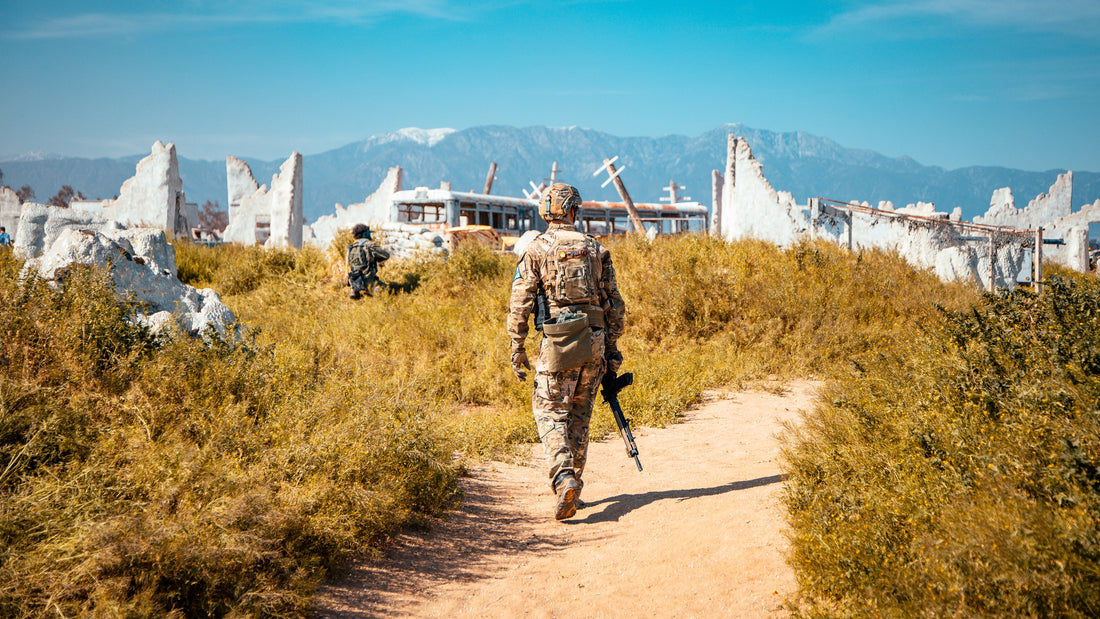
Although airsoft uses replica firearms and plastic BBs, safety regulations are equally important. Improper handling can still cause serious injuries, particularly to the eyes and teeth.
Protective Equipment Requirements
Eye Protection — The Most Important Gear
Eye protection is the only “no exceptions” mandatory equipment in airsoft. A BB striking an unprotected eye can cause permanent vision damage.
| Eye Protection Standard | Description |
|---|---|
| ANSI Z87.1+ | US standard, must have the “+” mark indicating high-impact rating |
| EN166 | European standard |
| Full-seal design | Prevents BBs from entering from sides or bottom |
| Anti-fog feature | Dual-pane lenses or anti-fog coating |
Eye Protection Rules:
- Never remove eye protection while on the field
- If fogging occurs, find a referee for assistance—don’t remove goggles on the field yourself
- Regular sunglasses, work goggles, or mesh goggles are not acceptable substitutes
- Check lenses for cracks or damage before use
Other Recommended Protection
- Face mask or mouth guard: Protects teeth and lower face (mandatory for those under 18)
- Gloves: Protect fingers from close-range hits
- Neck protection: Scarves or neck guards
- Long sleeves and pants: Reduce pain and bruising from hits
Field Safety Rules
Safe Zone Regulations
- Upon entering the safe zone, all weapons must have safety engaged, magazine removed, and barrel blocker installed
- Handguns must be holstered
- No shooting in the safe zone, including test firing
Energy Limits (FPS Limits)
All weapons must pass chronograph testing:
| Weapon Type | Typical FPS Limit | Minimum Engagement Distance (MED) |
|---|---|---|
| Pistol / SMG | Under 350 FPS | None |
| Assault Rifle | Under 400 FPS | 3-5 meters |
| Support Weapon (LMG) | 400-450 FPS | 15-20 meters |
| Sniper Rifle | 450-500 FPS | 20-30 meters |
Note: Rules vary by field—always follow local field regulations
“Blind Man” Emergency Stop Command
When someone calls “Blind Man”:
- Stop shooting immediately
- Stop moving
- Loudly repeat “Blind Man” so more people hear it
- Wait for referee instructions before resuming play
This command is used in emergency situations:
- Someone’s eye protection has fallen off
- Someone is injured and needs assistance
- Other safety emergencies
Airsoft Code of Conduct
- Call your hits honestly: When hit, call “Hit” and raise your hand to leave the field
- No blind firing: Never shoot without seeing your target
- Maintain safe distances: At close range, call “Safety Kill” instead of shooting directly
- No physical contact: No pushing, pulling, or other physical contact
📖 Further Reading: For a complete airsoft gear guide, see Airsoft Gear Selection Complete Guide
Home Firearm Storage Safety
Shooting safety extends beyond the range—proper firearm storage at home is equally important, especially in households with children.
Basic Storage Principles
- Separate guns and ammo: Store firearms and ammunition in different locations
- Lock everything: Use gun safes, cable locks, or trigger locks
- Store unloaded: Ensure firearms are completely unloaded before storage
- Restrict access: Only authorized adults should have access to firearms
Storage Equipment Options
| Equipment Type | Security Level | Best For | Price Range |
|---|---|---|---|
| Trigger Lock | ★★☆ | Basic protection, prevents firing | $10-30 |
| Cable Lock | ★★☆ | Threads through action, prevents loading | $5-20 |
| Handgun Safe | ★★★ | Quick access, combination or biometric | $50-200 |
| Gun Safe/Cabinet | ★★★★ | Complete protection, fire and theft resistant | $200-2,000+ |
Child Safety Education
If there are children in the home, education is as important as physical security measures:
- Teach children: See a gun → Don’t touch → Leave the area → Tell an adult
- Help children understand firearms are not toys
- Before playdates, ask other families about firearms in their home and how they’re stored
- Regularly verify all security measures are functioning properly
Safety Training with Shot Timer
A Shot Timer isn’t just a training tool—it can help you maintain safe habits under pressure. Here are training suggestions that combine Shot Timer use with safety awareness:
1. Trigger Discipline Training
Using Shot Timer PAR time function:
- Set PAR time to 3 seconds
- Practice the complete cycle: draw → aim → fire → finger to guard → holster
- Gradually reduce PAR time, but never sacrifice safety for speed
2. Safe Reload Training
- Set PAR times for reload practice
- Focus on: maintaining safe muzzle direction throughout the reload process
- Use random start delays to simulate unexpected reload needs
3. Safety Awareness Under Pressure
- Use the Shot Timer to create time pressure
- Under pressure, deliberately verify each safety action
- If you find yourself neglecting safety steps under pressure, immediately lower your speed requirement
4. Movement Shooting Safety Training
- Practice muzzle control during movement
- Time movement drills with the Shot Timer
- Set up markers to simulate the 180-degree rule, ensuring no violations during movement
📖 Further Reading: Learn more Shot Timer training techniques at Shot Timer App Complete Guide
Common Safety Issues and Solutions
1. What to Do After an Accidental Discharge?
- Stay calm—don’t panic
- Point the muzzle in a safe direction—confirm no one is injured
- Remove finger from trigger—place it outside the guard
- Investigate the cause—mechanical failure or operator error?
- Report to RSO or officials—in competition, an AD results in DQ
2. What If You See Someone Acting Unsafely?
- If there’s immediate danger, shout “Cease Fire”
- If there’s no immediate danger, politely remind them or notify the RSO
- Don’t physically grab or adjust someone’s posture or grip
3. Safe Handling During Malfunctions
- Keep the muzzle pointed downrange
- Remove finger from trigger
- Wait 30 seconds to rule out a hang fire
- Follow standard malfunction clearance procedures
- If unable to clear, call the RSO for assistance
📖 Further Reading: For detailed malfunction procedures, see Pistol Malfunction Clearance Complete Guide
Safety Checklist
Here’s a practical safety checklist to confirm before every shooting activity:
Before Departure
- All firearms unloaded and in cases/bags
- Ammunition stored separately from firearms
- Eye and ear protection packed
- Confirmed correct caliber ammunition
Upon Arrival at Range
- Read and understand range-specific rules
- Identify safety area location
- Verify backstop facilities behind target area
- Put on eye and ear protection
During Shooting
- Muzzle always pointed in safe direction
- Finger off trigger when not actively shooting
- Obey all RSO commands
- Maintain awareness of other shooters nearby
After Finishing
- Confirm clear—remove magazine, empty chamber
- Firearms stored in cases/bags
- Clean up shooting area
- Safely store firearms upon returning home
Frequently Asked Questions
Q1: Do shooting safety rules apply to airsoft?
Yes. Although airsoft uses BBs rather than live ammunition, the spirit of the four safety rules still applies. Eye protection requirements are especially critical—a BB striking an unprotected eye can cause permanent damage. Building safety habits in airsoft also creates a strong foundation for anyone who later transitions to real firearms.
Q2: What actions result in DQ at IPSC matches?
The most common DQ causes include: violating the 180-degree rule, accidental discharge, dropping a loaded firearm, loading ammunition in the safety area, and any behavior the RO deems unsafe. A DQ means you must immediately pack up your firearm and cannot participate in any remaining stages of that match.
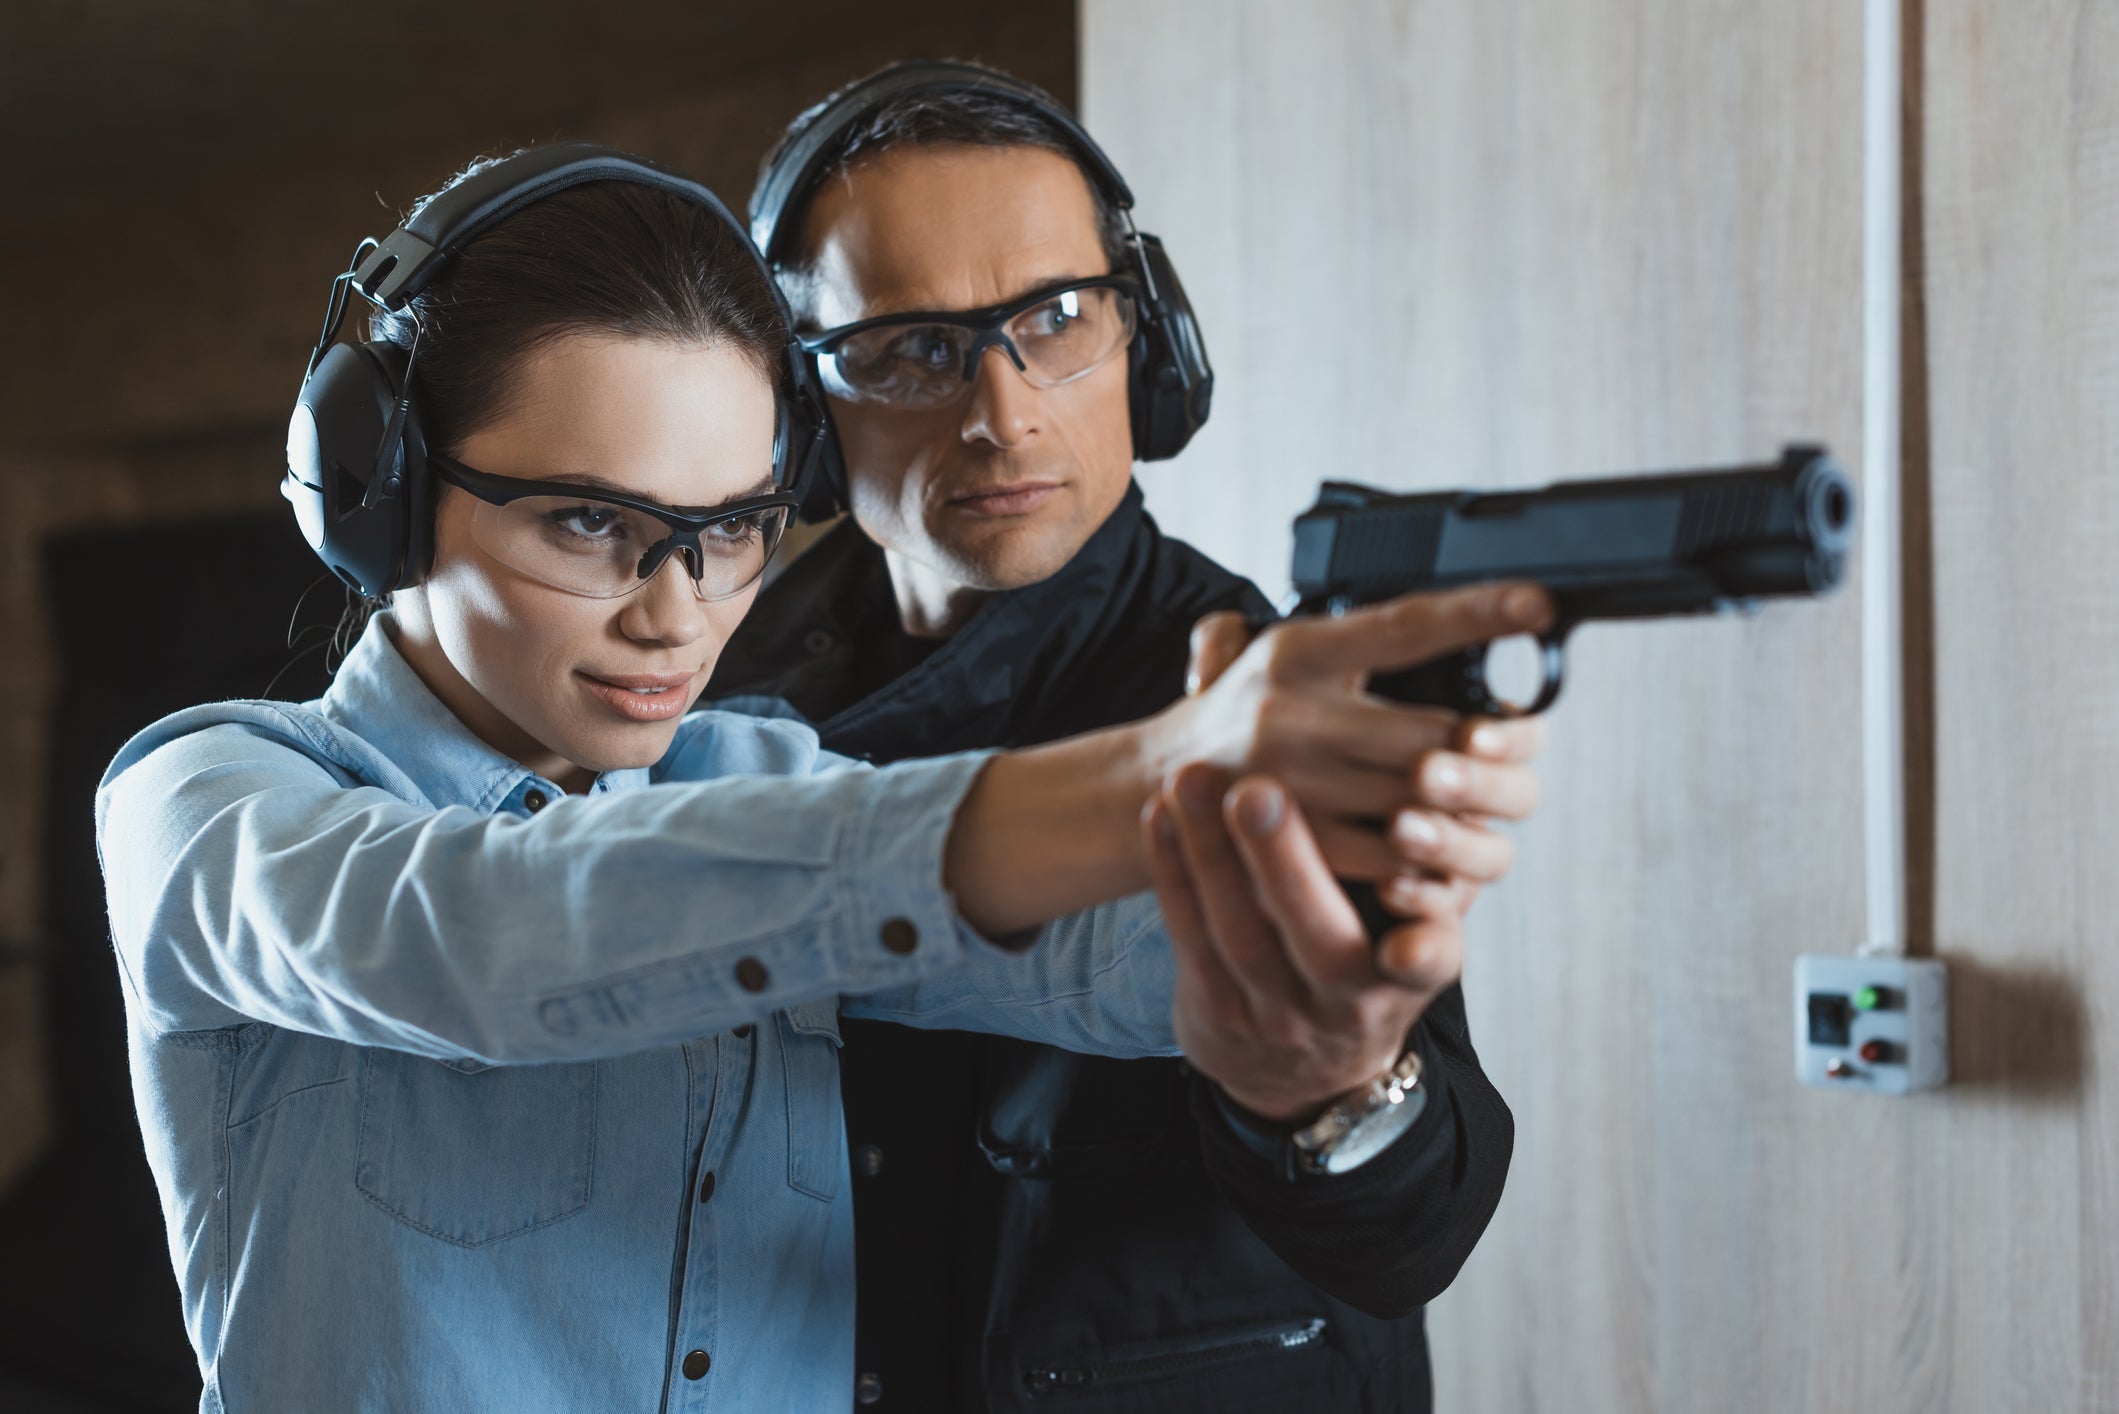
Q3: What should first-time range visitors know?
Proactively tell the RSO you’re a beginner—they’ll give you extra attention. Wear appropriate clothing (avoid low-cut tops that could catch ejected casings). Bring eye and ear protection. Don’t be afraid to ask questions—people at ranges are generally happy to help newcomers.
Q4: How often should I review safety training?
Review the four rules mentally before every shooting session. Attend at least one formal safety training course per year. If you compete, pre-match safety briefings are mandatory—never skip them.
Q5: How should firearms be stored with children in the home?
The basic principle is “separate guns and ammo, lock everything up.” Use a gun safe or lockbox for firearms, and store ammunition separately in a locked location. Provide children with safety education: see a gun → don’t touch → leave → tell an adult. Regularly check that all storage equipment locks are functioning properly.
Q6: How do I avoid neglecting safety when chasing speed with a Shot Timer?
Start with a PAR time that lets you comfortably complete all safety actions. Only shorten the time once you can maintain perfect safety discipline. Remember the saying: “Slow is smooth, smooth is fast.” Never risk safety to shave off 0.1 seconds.
Q7: What if I’m hit in airsoft but not sure if it counts?
Follow the principle of honesty—when in doubt, call yourself out. Raise your hand, call “Hit,” and leave the field. It’s better to miss one round than to damage your reputation by not calling hits.
Q8: What if I see dangerous behavior at the range but don’t want confrontation?
You don’t need to confront the person directly. Quietly notify the RSO and let the professionals handle it. If there’s immediate danger (e.g., someone sweeping the muzzle across people), don’t hesitate—shout “Cease Fire” immediately. Safety is always more important than politeness.
Conclusion
Shooting safety rules aren’t shackles that restrict your enjoyment of shooting—they’re shields that protect you and everyone around you. The four safety rules may seem simple, but they require constant practice to truly become instinctive.
Whether you’re practicing at the range, competing in IPSC/IDPA matches, or enjoying an airsoft game, always remember: safety is the prerequisite for all skills. Without safe shooting, all training is meaningless.
Build strong safety habits and make shooting sports a safe, healthy, and enjoyable part of your life.
📚 Related Articles
- Pistol Malfunction Clearance Complete Guide - Safety procedures during malfunction handling
- Pistol Cleaning and Maintenance Complete Guide - Safety considerations during maintenance
- Pistol Quick Draw Complete Guide - Proper safe drawing techniques
- IPSC Match Procedure and Preparation Guide - Competition safety regulations explained
- Airsoft Beginner Complete Guide - Airsoft safety equipment
- Shot Timer App Complete Guide - Safety training with Shot Timer
- Shooting Safety
- Gun Safety
- Range Safety
- Four Rules
- IPSC Safety
- IDPA Safety
- Airsoft Safety
- Shooting Training
- Firearm Safety
- RSO Commands